Ashburn, Virginia-
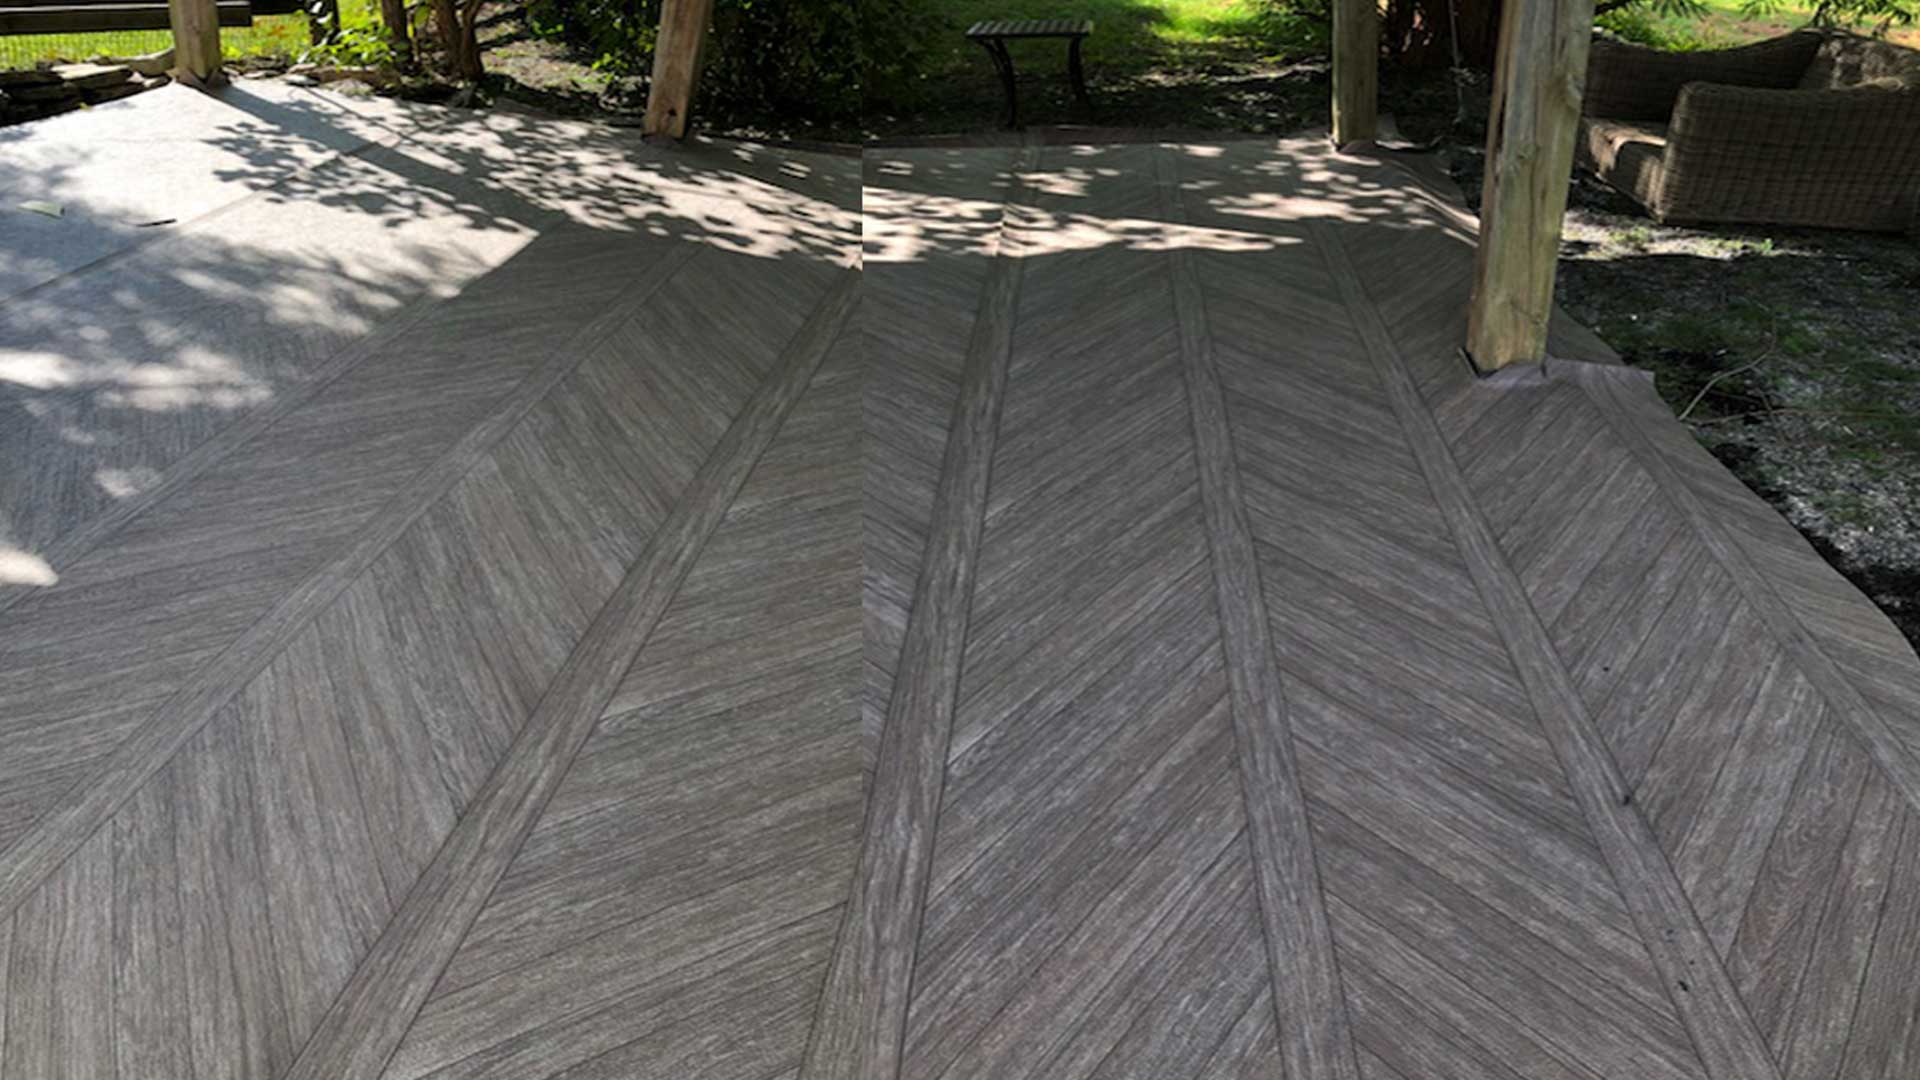
A beautiful late spring day in May, the IntelliDeck team was contacted by a local homeowner- Jerry Carney- for a re-install of a competitor installation over 5 years old. Jerry’s beautiful master bedroom walkout was in need of some TLC- especially since it needed to be waterproof to protect his brilliant hospitality space- a screened-in luxury room on his main level back deck. This was clearly a job for Grant Barlow- the IntelliDeck Master Installer.
Jerry had selected IntelliDeck Cobblestone from the Solutions line (a bestseller in Canada for over 20 years!) as his replacement pattern for his old material. As soon as the installation process was done, Jerry was going to repaint his railing, place his relaxation furniture, and get back to relaxing.

Grant rolled up in his trusty work truck, and was joined by Richmond native Dennis Holder, a recently certified IntelliDeck installer. Dennis and Grant began the prep work, and the installation shortly began.
A typical (400 s.f.) IntelliDeck install takes about a day. Jerry wanted to keep his existing railings, so Dennis and Grant had their work cut out for them. On a regular installation, the railings are removed and the homeowner replaces it with a new railing to complement the install. Assessing the job, Grant figured that it would be wisest to install, then cut out each of 11 posts and heat-seal the material edges together.


So- Grant & Dennis measured and trimmed the material; patched and planed the deck;


prepared the IntelliDeck with its liquid adhesive; rolled it out;

heat welded the main seams; and then began the work on the outer edges of the deck, where Grant created patches for each of the posts.


Carefully, Grant extended the IntelliDeck a few inches up the posts, protecting the base before the bottom post caps were replaced, so that the waterproof effect would be guaranteed. Each patch melded the material together and created a continuous deck covering.
Finally, Grant installed a decorative drip edge (flashing) to the outside edges of the deck’s vertical face and trimmed the excess.


Vòila! Jerry’s beautiful deck is waterproof and wonderful once again.
![imagejpeg[3]](https://www.intellideck.us/wp-content/uploads/imagejpeg3.jpg)

![imagejpeg[5]](https://www.intellideck.us/wp-content/uploads/imagejpeg5.jpg)
![imagejpeg[1]](https://www.intellideck.us/wp-content/uploads/imagejpeg1.jpg)


